


Growing your own sweet potatoes at home is one of the most rewarding gardening experiences you can have. Not only are they delicious, nutritious, and versatile in the kitchen—but they’re also surprisingly easy to grow, even if you have limited space.
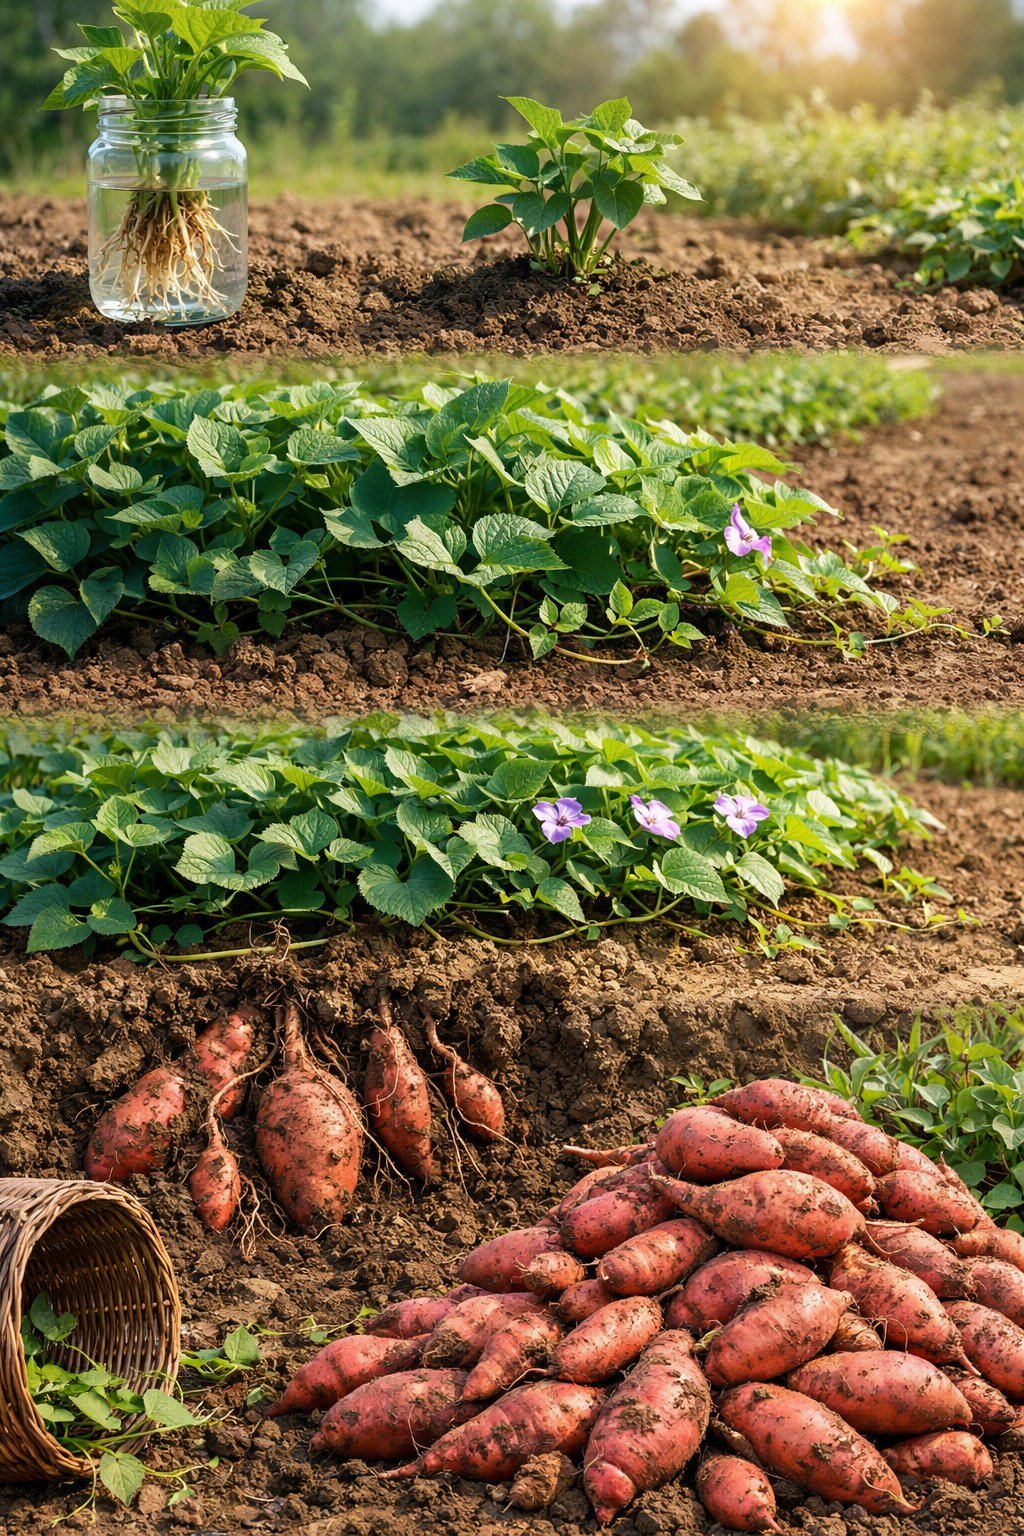
The image you shared perfectly captures the journey: from sprouting slips in water to lush green vines spreading across the soil, and finally to a rich, satisfying harvest of fresh sweet potatoes. Let’s walk through how you can recreate this success step by step.
🌱 Step 1: Start with Sweet Potato Slips
Unlike many vegetables, sweet potatoes don’t grow from seeds—they grow from slips, which are shoots that sprout from a mature sweet potato.
How to Grow Slips:
- Place a healthy sweet potato in a jar of water (half submerged).
- Keep it in a warm, sunny spot.
- Within 2–3 weeks, green shoots will appear.
- Once slips reach 15–20 cm, gently twist them off and place them in water to grow roots.
💡 Tip: The roots should be well-developed before planting.
🌿 Step 2: Choose the Right Spot
Sweet potatoes LOVE warmth and sunlight.
- ☀️ At least 6–8 hours of sun daily
- 🌡️ Warm soil (above 18°C is ideal)
- 🌱 Loose, well-drained soil
If you don’t have a garden, no problem:
- Use large containers or grow bags
- Raised beds work beautifully (like in your image)
🌾 Step 3: Planting Your Slips
Once your slips have strong roots:
- Plant them deep enough to cover the roots and part of the stem
- Space them about 30–40 cm apart
- Water well after planting
As they grow, vines will spread quickly across the ground—this is normal and actually helps protect the soil.
💧 Step 4: Care & Maintenance
Sweet potatoes are low-maintenance but still need some care:
Watering
- Keep soil slightly moist, especially early on
- Reduce watering near harvest time to prevent rot
Feeding
- Use compost or balanced fertilizer
- Avoid too much nitrogen (it grows leaves, not roots!)
Weed Control
- Once vines spread, they naturally suppress weeds
⏳ Step 5: When and How to Harvest
After 90–120 days, your sweet potatoes are ready.
Signs They’re Ready:
- Yellowing leaves
- Mature, thick vines
Harvest Tips:
- Gently dig around the base
- Use your hands or a fork carefully
- Avoid damaging the skins
In your image, you can see that satisfying moment—pulling up clusters of fresh, earthy sweet potatoes from the soil.
🏡 Perfect for Any Space
You don’t need a farm to grow sweet potatoes:
- Small backyard ✔️
- Balcony with containers ✔️
- Raised beds ✔️
Even a single container can yield a generous harvest if cared for properly.
🌟 Bonus Tips for Bigger Harvests
- Rotate crops each season
- Use mulch to retain moisture
- Keep soil loose for better root expansion
- Let harvested potatoes cure in a warm place for 1–2 weeks for better flavor
🍠 Final Thought
Turning your home into a sweet potato garden is simple, affordable, and incredibly satisfying. From watching slips grow in a jar to harvesting a pile of fresh tubers, every step feels rewarding.
And once you taste your homegrown sweet potatoes… there’s no going back.